
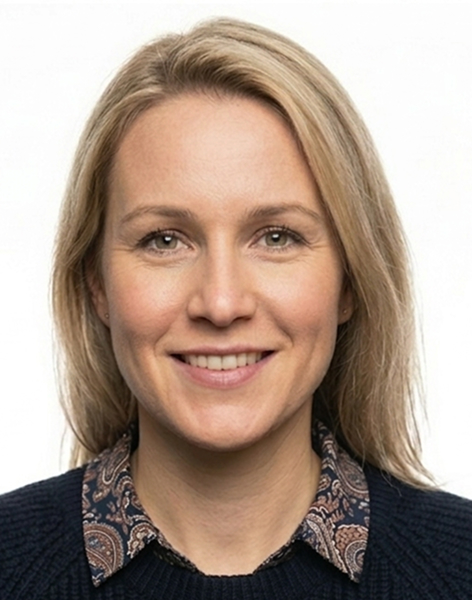
Mistake 1: Head Size Out of Range
Why it happens: Most people take a photo that looks well-framed, but the actual head measurement — chin to crown — falls outside the 1 to 1⅜ inch range required in the 2×2 inch print.
Common causes:
- Using the front (selfie) camera, which has a wider field of view and makes the head appear relatively smaller
- Standing too close to the camera (head too large)
- Using a cropping app that doesn't account for State Department head-size rules
- Printing at the wrong scale
How to check: Print a test copy at exactly 2×2 inches and measure with a ruler from the bottom of the chin to the top of the head. The measurement should be 1 to 1⅜ inches.
How to fix: Use the rear camera. Move further back if the head is too large, closer if too small. Use an AI passport photo service that automatically checks head size.
Every common mistake is checked automatically.
Avoid mistakes with our guided tool →Mistake 2: Shadow on the Background
Why it happens: When you stand close to a wall or background surface, your head casts a shadow on it. This shadow appears as a grey area, usually directly behind and slightly above the head. It looks fine on your phone screen because screen auto-brightness minimises the contrast — but in print, and especially in automated digital review, it's clearly visible.
How to check: Zoom into the background area in the digital photo (not the face area — the corners and sides of the background). Any area that's not uniformly bright white is a problem.
How to fix: Stand 3–5 feet (1–1.5 metres) away from the background. Use diffuse front lighting — natural window light on an overcast day is ideal.
Mistake 3: Glasses
Why it happens: Glasses have been banned since November 2016, but many people who last renewed before 2016 don't know this. Others assume their glasses are acceptable because they've worn them in photos their whole life.
How to check: Look at your photo. Are there any visible glasses frames? Any hint of lens edge?
How to fix: Remove all glasses. There are no exceptions for prescription glasses. Clear contact lenses are permitted.
Mistake 4: Non-White Background
Why it happens: Most home walls are not pure white — they're slightly cream, off-white, warm white, or light grey. The difference is subtle to the eye in normal lighting but more obvious in the uniform exposure of a passport photo.
Apps that digitally insert a white background can also create colour-accuracy problems — the inserted background may be slightly off-white, or may have visible artefacts at the edges.
How to check: Open the photo in an image editor and use the eyedropper/colour picker tool on the background. If the RGB values are anything other than near 255,255,255 (white), it may fail.
How to fix: Use a genuine white surface as background. Check at 100% zoom for any colour cast before submitting.
Mistake 5: Expression Issues
Why it happens: When people look at a camera, they often automatically smile — a slight, unconscious expression that forms in the muscles. This subtle smile (corners of mouth slightly raised, cheeks slightly lifted) is enough to cause rejection.
How to check: Look at your photo critically. Are the corners of your mouth perfectly neutral — not raised, not drooping? Are your cheeks fully relaxed?
How to fix: Take a breath before the shot. Let your jaw fully relax. Focus on a neutral point slightly behind the camera. Practise in a mirror. Take multiple shots and choose the most neutral one.
Mistakes Checklist
| Check | Pass Condition |
|---|---|
| Head size | 1–1⅜ inches chin to crown in 2×2 inch print |
| Background | Uniformly white or off-white — no shadows, patterns, or colour cast |
| Glasses | None visible — all glasses removed |
| Expression | Neutral — no smile, no frown, no raised eyebrows |
| Eyes | Fully open, both visible, looking directly at camera |
| Head position | Straight — no tilt, no turn |
| Photo recency | Taken within 6 months of application |
| Photo quality | Sharp, in focus, no blur, no red-eye |
| Head coverings | None (except documented religious or medical) |
| Clothing | Everyday civilian — no uniforms, no camouflage |
Ready to create your passport photo?
Get a compliant passport photo in minutes. AI-verified. 100% acceptance guarantee or your money back.
Why Choose PassportApp?
Ready in 2 Minutes
AI processing delivers your compliant photo instantly — no booth queues.
Money Back Guarantee
Full refund if your application is rejected due to the photo.
Compliance Verified
Every photo is checked against official requirements before download.
Frequently Asked Questions
Head size out of range, shadow on the background, glasses worn, non-white background, and non-neutral expression. These five account for the majority of photo rejections.
Use an AI passport photo checker that verifies every technical requirement before you submit. Professional services like CVS and Walgreens also reduce rejection risk significantly.
Related Tools
Related guides
Need help with your passport photo?
Use our free tools to check if your photo meets United States requirements, find photo booths near you, or set up renewal reminders.